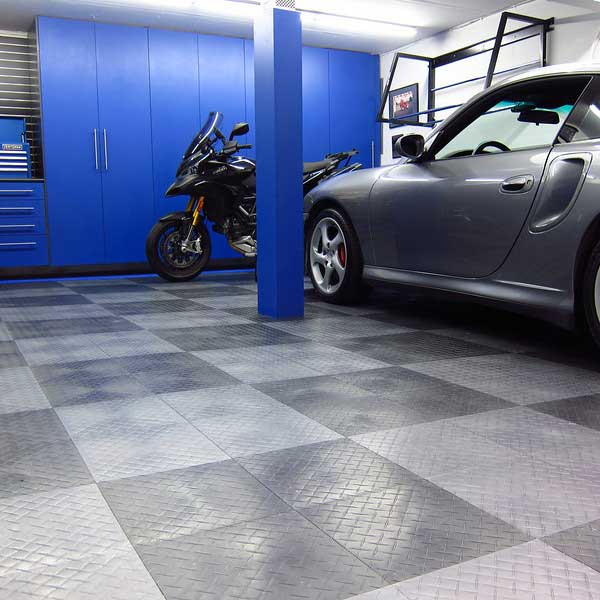
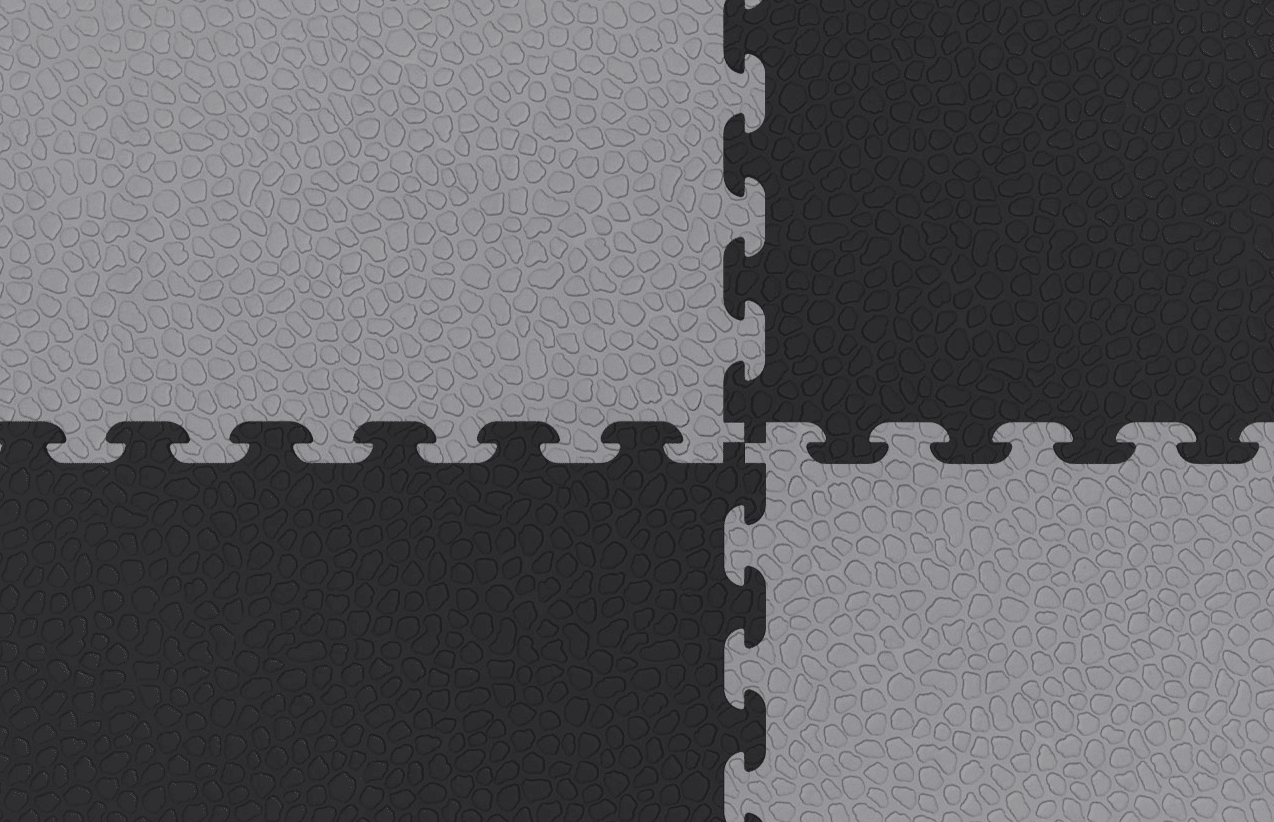
Garage floor tiles are renowned for their DIY-friendly installation, transforming a drab concrete slab into a vibrant, durable, and functional space in a matter of hours. Their interlocking design makes them accessible even for first-time installers. However, like any home improvement project, sometimes minor hiccups can arise. Don’t worry! Most common garage floor tile installation issues are easily fixable with a little patience and the right knowledge.
At Garage Flooring LLC, we’re here to ensure your tile project goes smoothly. Here’s a guide to common troubleshooting scenarios and how to resolve them.
Issue #1: Tiles Not Laying Perfectly Flat / Small Gaps Between Tiles
The Problem: You’ve laid a section, and some tiles seem to be slightly bowed, rocking, or have small, noticeable gaps where they should be snug. Common Causes:
- Uneven Subfloor: The concrete itself might have slight high or low spots.
- Debris Underneath: Even small pieces of grit can prevent a tile from sitting flush.
- Tension from Walls: Tiles installed too tightly against walls without an expansion gap.
- Improper Cutting/Alignment: If your starting line wasn’t perfectly straight, subsequent rows can compound the error.
- How to Fix It:
- Subfloor Prep is Key: Before installation, ensure your concrete is as clean and level as possible. Sweep/vacuum meticulously. For minor dips, a self-leveling compound might be needed, but usually, tiles can bridge small imperfections.
- Thorough Cleaning: Lift the problematic tile and sweep/vacuum the area underneath thoroughly.
- Allow for Expansion: Remember that most tiles expand and contract slightly with temperature changes. Leave a small expansion gap (at least ½”) around the perimeter of the garage and around any fixed objects. This allows the floor to “breathe.”
- Check Alignment: Ensure you’re following a straight line, typically from the garage door inward. Use a chalk line or laser level for your first few rows.
- Gentle Tapping: For minor bowing, a rubber mallet and a piece of scrap wood can help tap tiles into place.
Issue #2: Tiles Not Clicking Together Properly
The Problem: The interlocking tabs aren’t engaging smoothly, requiring excessive force, or feeling like they’re misaligned. Common Causes:
- Misalignment: Not approaching the connection straight on.
- Debris in Interlocks: Small pieces of grit or concrete dust inside the male or female tabs.
- Damaged Interlocks: Tabs might be bent or broken from previous attempts or shipping.
- How to Fix It:
- Check Orientation: Ensure you’re connecting the correct male and female tabs. Most tiles have a consistent direction.
- Clean Tabs: Use a small brush or compressed air to clear any debris from the interlocking mechanisms.
- Inspect for Damage: Visually check if any tabs are bent or broken. If so, replace the tile.
- Proper Technique: Align the tabs squarely, then apply firm, even pressure. A rubber mallet can assist, but avoid excessive force that could damage the tabs.
Issue #3: Tiles Sliding or Shifting Over Time
The Problem: After installation, areas of your tiled floor seem to move, shift, or develop small gaps between tiles. Common Causes:
- No Edge Pieces/Ramps: The entrance to the floor is a sudden change in height, which can cause tiles to flip up slightly when driving a vehicle onto them, forming a “wave” in the floor.
- Extremely Smooth or Coated Concrete: A highly polished concrete or coated/painted surface might offer less friction for the tiles to grip.
- Temperature Expansion/Contraction: Without adequate expansion gaps (see Issue #1), tiles can buckle or shift.
- Not Enough Tiles: If your tile area is small, there may not be enough combined weight to hold the tiles in place.
- How to Fix It:
- Install Edge Pieces/Ramps: These are crucial. Edge pieces not only finish the perimeter but also keep vehicles from flipping tiles and pushing them across the floor.
- Allow Proper Expansion Gaps: Ensure you’ve left the recommended gap around walls and fixed objects.
- Use Carpet Keeper: You can use a rubber mesh carpet keeper-style product under the first few rows of tiles to give them more traction on a slipperier surface.
Issue #4: Damaged Tiles
The Problem: A tile cracks, chips, or gets severely stained due to a dropped tool or extreme impact. Common Causes: Heavy impacts, excessive concentrated weight, or accidental chemical exposure. How to Fix It:
- Easy Individual Replacement: This is the ultimate “pro” of garage floor tiles! Simply unclip the damaged tile, remove it, and snap a new tile into its place. No need to replace an entire section or re-do the whole floor. It’s quick, easy, and cost-effective.
General Troubleshooting Philosophy:
- Patience is Key: Don’t rush. Take breaks if frustrated.
- Re-Read Instructions: Always refer back to the specific product installation guide.
- Contact Our Experts: If you’re truly stuck, don’t hesitate to reach out to the team at Garage Flooring LLC. We’ve seen it all and are here to help!
A successful DIY garage floor tile installation is highly achievable. By being aware of these common issues and knowing how to troubleshoot them, you’ll be well-equipped to create a beautiful, durable, and problem-free garage floor that lasts for years.
Ready to lay down your perfect garage floor?


