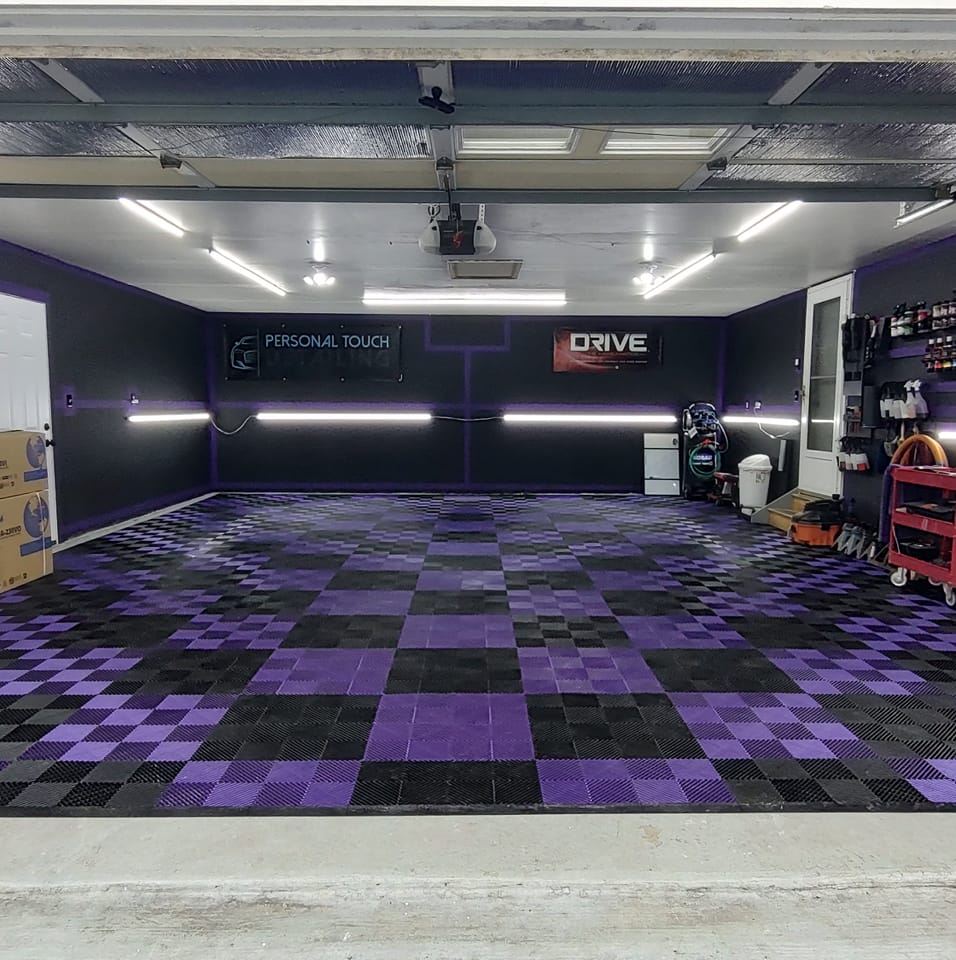
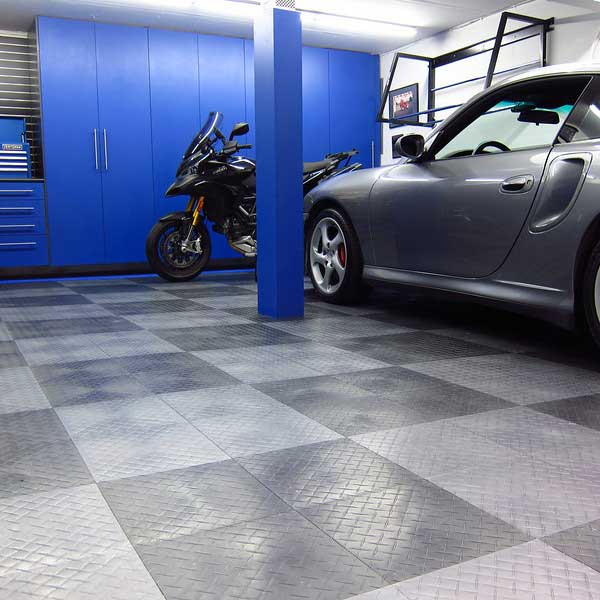
Transforming your garage with a durable and stylish interlocking tile floor is a fantastic DIY project. At Garage Flooring LLC, we’re dedicated to helping homeowners achieve professional-looking results. This guide provides step-by-step instructions for installing our interlocking garage floor tiles, empowering you to tackle this project with confidence. Remember, these tiles are designed to float and do not adhere to the subfloor. They also accommodate minor subfloor imperfections. A key element to a successful installation is maintaining a consistent 1/2″ gap between the tiles and the walls (including the door).
Before You Begin:
- Choose Your Tiles: Consider the material (PVC, polypropylene), style, and color that best suits your needs and garage aesthetic. Browse our selection at www.garageflooringllc.com for inspiration!
- Calculate the Quantity: Measure your garage floor carefully and calculate the number of tiles you’ll need, adding around 5 extra in each color/style for cuts and potential errors.
- Gather Your Tools and Materials:
- Interlocking Garage Floor Tiles
- Measuring tape
- Rubber mallet (not required but can make installation easier)
- Tile cutter (table saw or circular saw with a plastic cutting blade, or 13″ Guillotine Tile cutters can be rented from most Home Depot locations)
- Knee pads (not required but tile installation does require a lot of working on your knees)
- Straight edge or ruler
- Pencil or marker
- Broom or vacuum (for clearing debris)
- Spacers (1/2″ thick – wood scraps or tile offcuts work well)
- Edge pieces (for the garage door opening)
Step-by-Step Installation:
- Prepare the Subfloor: While these tiles can handle minor imperfections and don’t require a perfectly clean or level surface, it’s still important to address any significant debris or abrupt height changes.
- Clear Debris: Sweep or vacuum the garage floor to remove any large debris, rocks, or other objects that could interfere with the tile interlock.
- Address Major Unevenness: While minor dips and rises are okay, address any significant height differences that could cause the tiles to rock or create an uneven surface.
- Install the tiles (Our Recommended Method): Our preferred method minimizes cutting and ensures a clean, professional look.
- Clean Perimeter: Ensure the edges of the concrete are free of debris.
- Tile Orientation: This is critical! To ensure that you don’t run into issues with the locking system during the installation, remember that all tiles placed need to have the loops facing the back wall and the right wall.
- Interlock/Connect: These tiles interlock. Firmly press the tiles together, using a rubber mallet to gently tap them into place and ensure a tight, seamless fit. Work row by row, following the layout method described above, and always using your spacers to maintain the 1/2″ gap.
- Front Row (with Edge Pieces): Lock a row of tiles together across the entire front (door) side of the garage. Lock your edge pieces in and adjust the row’s placement so that there is at least a 1/2″ gap between the edges and the door/wall on this side of the garage.
- Left Side Row: Next, lay a row of tiles along the entire left side wall, perpendicular to the front row. Use spacers to maintain a consistent 1/2″ gap between the tiles and the wall.
- Fill In: Continue laying tiles, working from these two established rows and filling in the remaining area towards the back right corner of the garage. Remember to use spacers along the back and right walls to maintain the 1/2″ gap. This method concentrates all necessary cuts along the back and right walls.
- Cutting Tiles: With our recommended layout, you’ll primarily be cutting tiles to fit along the back and right walls. It is important to keep in mind the orientation of the tile in the floor to know which side to cut. If you cut the wrong side of the tile, that tile may not interlock with the rest of the floor anymore.
- Measure: Carefully measure the space where the tile needs to be cut, accounting for the 1/2″ gap.
- Mark: Mark the cutting line on the tile using a straight edge and pencil or marker.
- Cut: Use your choice of tile cutting option to cut the tile along the line that you measured.
- Finishing Touches:
- Inspect: Once all the tiles are laid, inspect the floor for any gaps or loose tiles.
Tips for Success:
- Take Your Time: Don’t rush the installation process. Careful planning and execution will result in a better finished product.
- Work Methodically: Follow our recommended layout method for the easiest and most efficient installation.
- Consistent Spacing: The 1/2″ gap is crucial. Double-check your spacing frequently as you lay the tiles.
- Read the Instructions: Always refer to the specific installation instructions provided by the tile manufacturer.
Enjoy Your New Garage Floor!
By following these steps, and paying particular attention to the 1/2″ expansion gap, you can transform your garage into a stylish and functional space. At Garage Flooring LLC, we offer a wide variety of interlocking garage floor tiles to suit every need and budget. Visit our website at www.garageflooringllc.com to explore our selection and get started on your garage makeover today! If you have questions, please don’t hesitate to contact us!


