Your garage floor bears the brunt of daily life – oil stains, tire marks, dust, and the general wear and tear of storage and projects. That dull, grey concrete might be functional, but it doesn’t exactly inspire. If you’re dreaming of a professional-looking garage that’s both durable and aesthetically pleasing, you’ve come to the right place. At Garage Flooring LLC, we specialize in transforming concrete canvases into stunning and high-performing surfaces. Let’s walk through the upgrade process, turning your basic concrete into a finish you’ll be proud of.
Phase 1: Assessment and Vision
The first step in any successful upgrade is understanding your starting point and envisioning your desired outcome.
- Inspect Your Concrete: Take a close look at your existing concrete floor. Are there cracks, holes, or uneven areas? Note any significant damage that will need addressing.
- Define Your Needs: How do you primarily use your garage? Is it for parking, a workshop, a home gym, storage, or a combination? Your usage will influence the best flooring solution.
- Consider Your Budget: Determine how much you’re willing to invest in the upgrade. This will help narrow down your material options.
- Envision Your Aesthetic: What kind of look are you going for? Do you prefer a sleek, modern finish, a rugged, industrial feel, or something in between? Explore our range of coatings and tiles to get inspired.
Phase 2: Preparation – The Foundation of a Flawless Finish
Proper preparation is arguably the most critical step in achieving a professional-looking and long-lasting garage floor. Skipping or skimping here will compromise the final result.
- Thorough Cleaning: Begin by completely clearing out your garage. Sweep away all loose debris, dirt, and dust. For stubborn stains like oil or grease, use a dedicated concrete degreaser and scrub thoroughly. Rinse the floor completely and allow it to dry fully.
- Repairing Imperfections: Address any cracks or holes with a concrete crack filler or epoxy patch, depending on the flooring you plan on using. Level out uneven areas with a self-leveling concrete compound, following the product instructions carefully. For significant unevenness or existing failing coatings, concrete grinding may be necessary.
- Surface Profiling (for Coatings): For epoxy or polyurea coatings to adhere correctly, the concrete surface needs to be slightly porous. This can be achieved through acid etching or, preferably, diamond grinding. Grinding provides a consistent and optimal surface profile for strong adhesion. Note: This step is generally not required for tile or mat installations.
- Final Cleaning and Dust Removal: After any repairs or profiling, meticulously clean the floor again. Use a vacuum to remove all remaining dust and debris. A damp mop can help capture any lingering particles. The cleaner the surface, the better the adhesion of your chosen finish.
- Moisture Testing (for Coatings): Excess moisture in the concrete can lead to coating failure. Conduct a moisture test using a calcium chloride test kit or a moisture meter to ensure the floor is dry enough for coating application.
Phase 3: Choosing and Installing Your Professional Finish
Now for the exciting part – selecting and installing your new garage floor finish! At Garage Flooring LLC, we offer a variety of high-quality options:
- Epoxy Coatings: Known for their durability, chemical resistance, and customizable aesthetics. Our epoxy coating kits offer a fantastic way to achieve a professional look.
- Polyurea Coatings: Offering even greater durability, faster cure times, and excellent resistance to temperature fluctuations and chemicals. Explore our polyurea garage floor coatings.
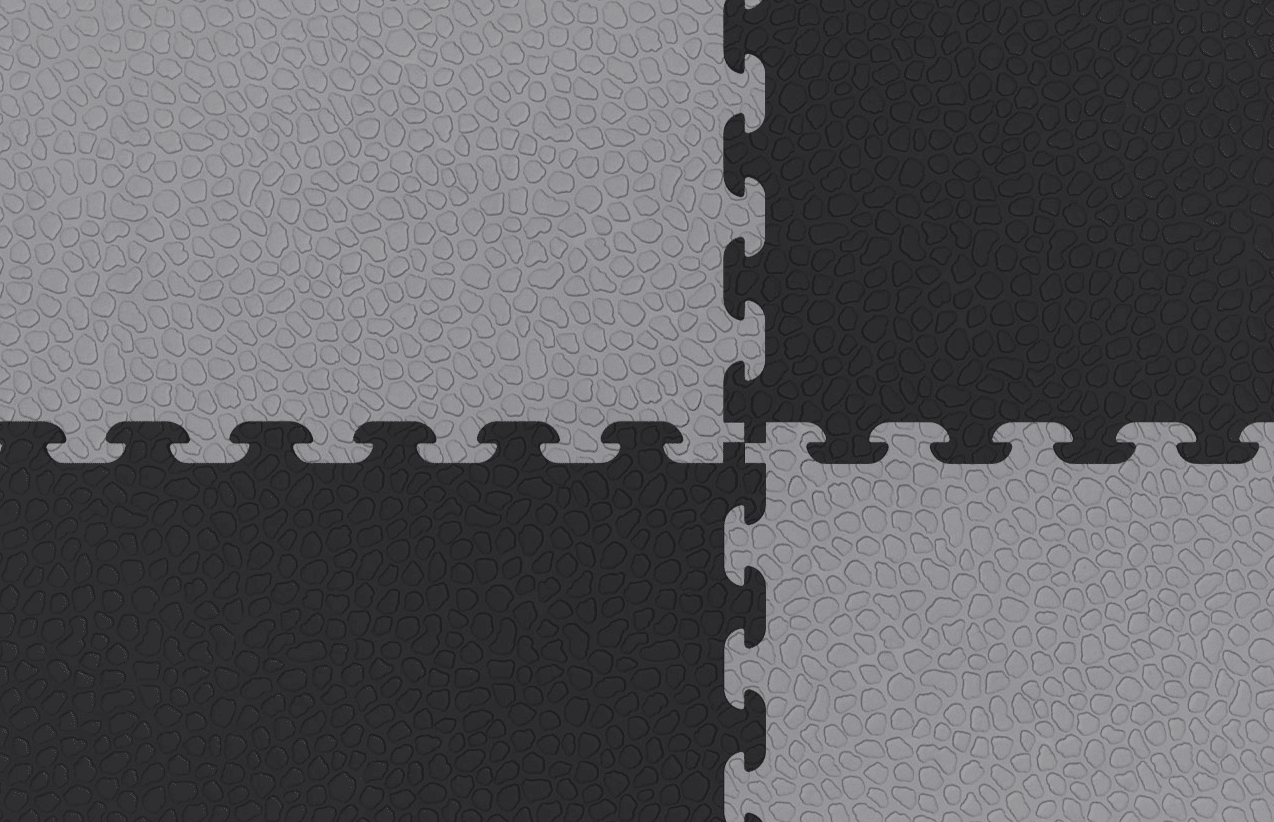
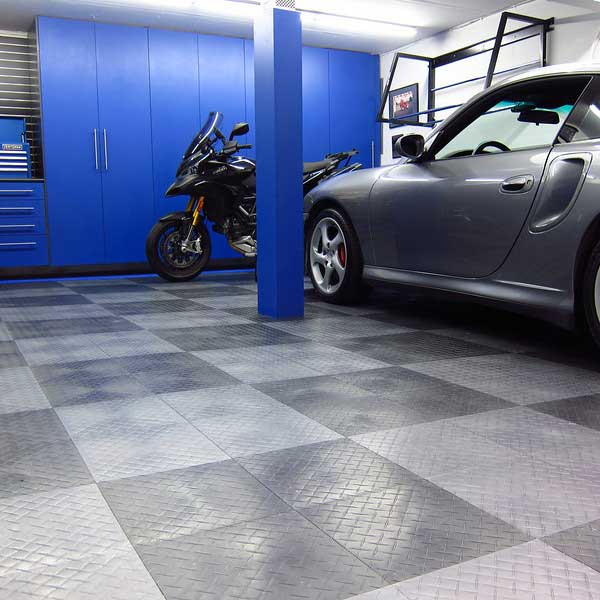
- Garage Floor Tiles: Providing a modular, easy-to-install, and durable flooring solution with endless design possibilities using our garage tile floor covering options and tile designer tool.
- Garage Floor Mats: Offering a quick, easy, and portable way to protect your floor. Browse our selection of garage floor mats.
Follow the specific installation instructions for your chosen product. For coatings, this typically involves mixing components carefully and applying them in even coats. For tiles, it’s often a simple interlocking process. Mats just need to be unrolled and positioned.
Phase 4: Enjoying Your Transformed Garage
Once your new garage floor finish is installed and fully cured (if applicable), you can finally enjoy the benefits of a professional-looking and high-performing space. Regular cleaning and proper maintenance will ensure its longevity and continued appeal.
Transitioning from a basic concrete garage floor to a professional finish is an investment that pays off in terms of durability, aesthetics, and overall enjoyment of your garage space. Explore the options at Garage Flooring LLC and take the first step towards a garage you’ll be proud of!