You’re excited to upgrade your Grand Junction garage with a durable new floor – be it a sleek epoxy coating, robust tiles, or a protective mat. But before you roll out the mats or mix the epoxy, you might notice a few hairline cracks in your existing concrete. Do these minor imperfections really matter? The short answer is: yes, they often do. At Garage Flooring LLC, we believe that proper preparation is the cornerstone of a long-lasting and professional-looking finish. Ignoring even seemingly minor cracks can lead to bigger problems down the road. Let’s explore why addressing these small issues before installing your new garage flooring is crucial for the longevity of your investment.
Why Minor Cracks Are More Than Just Cosmetic:
While those thin lines in your concrete might not seem like a major structural concern, they can be entry points for trouble:
- Moisture Intrusion: Even hairline cracks can allow moisture from the ground to seep upwards. As we discussed in our previous post about moisture barriers, this can lead to adhesion issues with coatings, potential problems under mats, and even contribute to the deterioration of the concrete itself over time.
- Expansion and Contraction: Concrete expands and contracts with temperature fluctuations. Cracks provide weak points where this movement can be amplified, potentially widening the cracks or causing further damage to the concrete and any overlying flooring.
- Weakened Substrate: Over time, minor cracks can collect dirt, debris, and even small amounts of liquid, further weakening the structural integrity of the concrete surface. This compromised substrate can negatively impact the adhesion and lifespan of your new flooring.
- Aesthetic Imperfections: While seemingly small, these cracks can be visible through thinner coatings or create unevenness under mats, detracting from the smooth, professional finish you desire. In most cases for our coatings, if a crack is so small that you cannot feel it with your fingertip, it should not show through the coating.
The Prepping Process: Addressing Minor Cracks for Longevity (and Considering Alternatives)
Fortunately, repairing minor cracks in your garage floor is a relatively straightforward process that can significantly extend the life and improve the appearance of your new flooring. However, depending on the flooring type, there are alternative approaches to consider:
- Choosing the Right Approach Based on Flooring Type:
- Coatings (Epoxy & Polyurea): For a seamless and long-lasting coating, filling minor cracks is generally recommended.
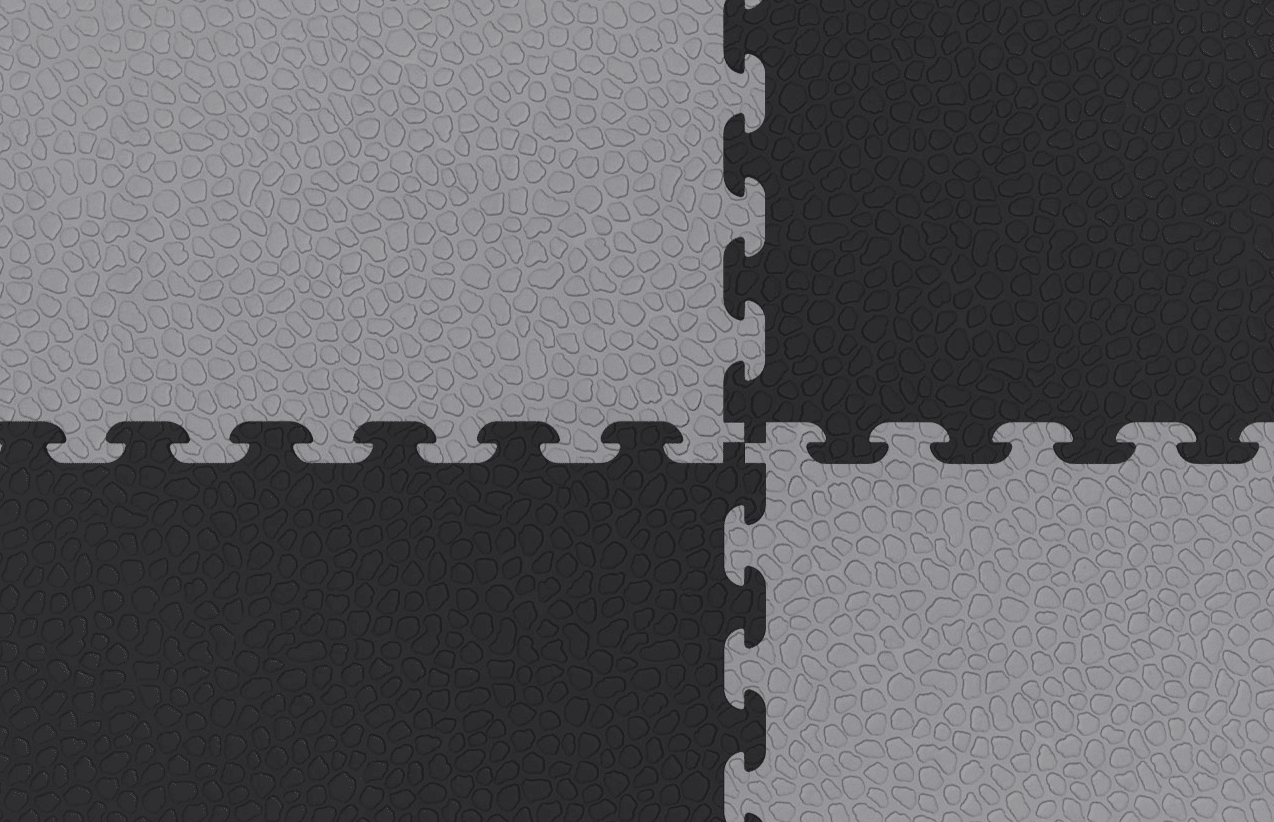
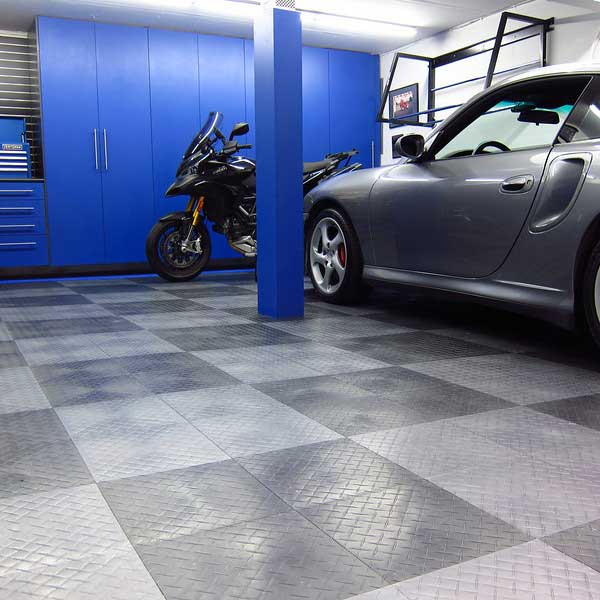
- Garage Floor Tiles: If the minor cracks have no significant height difference (i.e., the concrete is still level across the crack), our interlocking garage floor tiles can often be installed directly over them without filling. The rigid nature of the tiles can bridge small cracks without issue. However, it’s still crucial to ensure the cracks are clean and stable.
- Garage Floor Mats: While garage floor mats can be laid over cracked concrete, the cracks can sometimes telegraph or profile through the mat over time, especially with heavy use or temperature changes. For the best long-term aesthetic, addressing cracks before installing mats is advisable.
- Thorough Cleaning: As with any flooring project, start by thoroughly cleaning your garage floor. Sweep away all dirt, dust, and debris. For cracks, use a stiff brush or vacuum crevice tool to remove any embedded material.
- Opening the Cracks (Slightly): For better adhesion of coating repair material, you might need to slightly widen the cracks using a concrete crack chaser or angle grinder. This creates a small “V” shape that the repair material can grip onto. Be careful not to create more damage.
- Cleaning the Cracks Again: After opening the cracks, clean them out once more to remove any dust or debris created during the widening process.
- Applying the Repair Material (for Coatings & Aesthetic Preference): Carefully apply the chosen repair material into the cracks, ensuring it fills the entire void. For crack fillers, apply a bead along the length of the crack and smooth it with a putty knife. For epoxy kits, follow the specific mixing and application instructions. For a coating to stick to the crack filler, the crack must be filled with a 2-part epoxy based crack filler that is paintable/recoatable.
- Allowing Sufficient Curing Time: Allow the repair material to cure according to the manufacturer’s instructions before proceeding with the installation of your new garage flooring. This ensures the repair is strong and stable.
- Light Sanding (Optional): Once cured, you can lightly sand the repaired areas to ensure they are flush with the surrounding concrete, especially if you are planning on a thin coating.
The Payoff: A Smooth Foundation for Lasting Results
Taking the time to address even minor cracks (or strategically choosing tiles) before installing your new garage flooring is an investment in the longevity and appearance of your upgrade. By creating a solid, stable, and moisture-resistant foundation, you’ll ensure that your chosen epoxy coating, tiles, or mats will look their best and perform optimally for years to come in your Grand Junction garage.
Ready to build a garage floor that lasts?